Instant Photo Booth with Raspberry Pi
- Son Luu

- Sep 16, 2019
- 3 min read
Updated: Sep 22, 2019
Class: Making Media Making Devices
Instructor: Matt Richardson

A very useful media making application with Raspberry Pi is creating photo taking application.
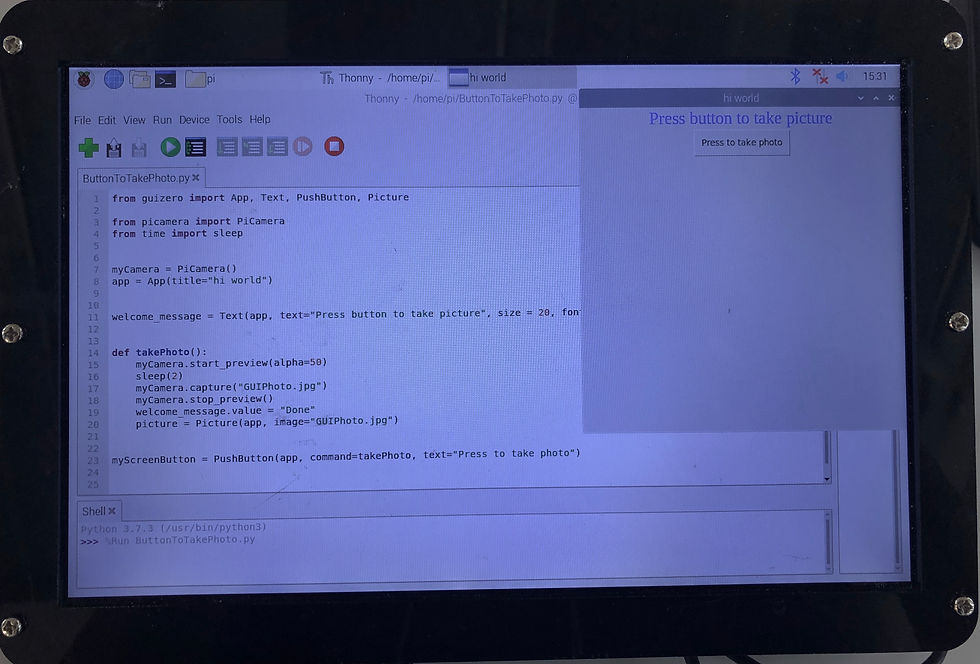
After we learned how to create user interface (GUI) with Raspberry Pi, we wanted to create an interface that contains a button to take picture, and then posting the photo onto the computer screen.
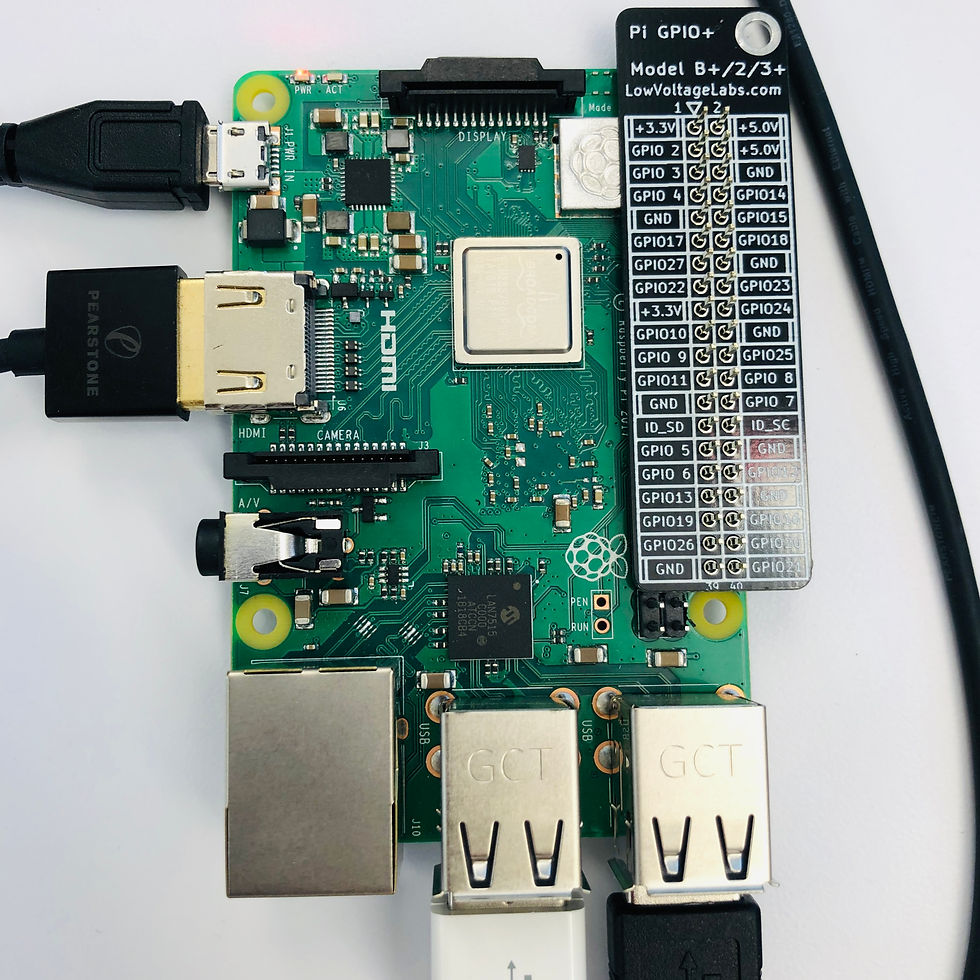
For this project, we used a Raspberry Pi 3 B+ and a Raspberry Pi mini camera that is connected to it.
As part of the ideation process, we outlined the basic steps to execute this as follows:
1. Create a GUI that contains a button
2. Create a function that takes photo
3. Attach the photo taking function to the button via a button pushing action
4. Create a function that would save the photo after taking it
5. Create a function that displays the photo on screen
After trying to create 3 or 4 different functions to execute steps 2, 4, and 5, we were not successful with the libraries used including: guizero, and picamera,
The final Python code is documented below?
Step 1: Create function to take photo, create a button
from guizero import App, Text, PushButton # import Raspberry Pi GUI library
from picamera import Picamera # import library to initiate photo taking function
from time import sleep # import library to keep track of time
myCamera = PiCamera()
app = App(title="Photo Booth with Raspberry Pi") # name of the app
welcome_message = Text(app, text="Press button to take photo", size = 20)
def takePhoto():
myCamera.start_preview(alpha=50) # showing preview screen
sleep(2) # waiting for 2 seconds before taking the photo
myCamera.capture("GUIphoto.jpg") # taking the photo and saving it as GUIphoto.jpg
myCamera.stop_preview() # stopping preview screen
# in the above function, all actions are included to be executed all at once when function is called.
myScreenButton = pushButton(app, command=takePhoto, text="Press to take photo")
# this is the action to call changeText() function by pushing the button on screen.
Step 2: Adding displaying photo function
from guizero import App, Text, PushButton, Picture # import Raspberry Pi GUI library
from picamera import Picamera # import library to initiate photo taking function
from time import sleep # import library to keep track of time
myCamera = PiCamera()
app = App(title="Photo Booth with Raspberry Pi") # name of the app
welcome_message = Text(app, text="Press button to take photo", size = 20)
def takePhoto():
myCamera.start_preview(alpha=50) # showing preview screen
sleep(2) # waiting for 2 seconds before taking the photo
myCamera.capture("GUIphoto.jpg") # taking the photo and saving it as GUIphoto.jpg
myCamera.stop_preview() # stopping preview screen
welcome_message.value = "Done" # displaying text "Done" to indicate picture was taken
picture = Picture(app, image="GUIphoto.jpg") # to display the saved photo with specific name
# in the above function, all actions are included to be executed all at once when function is called.
myScreenButton = pushButton(app, command=takePhoto, text="Press to take photo")
# this is the action to call changeText() function by pushing the button on screen.

Outstanding Problem:
The problem remained is that once the photo is taken and shown on screen, if the button is pressed again, a new photo is taken but the initial photo is still shown. Basically, the new image is not being updated when displayed.
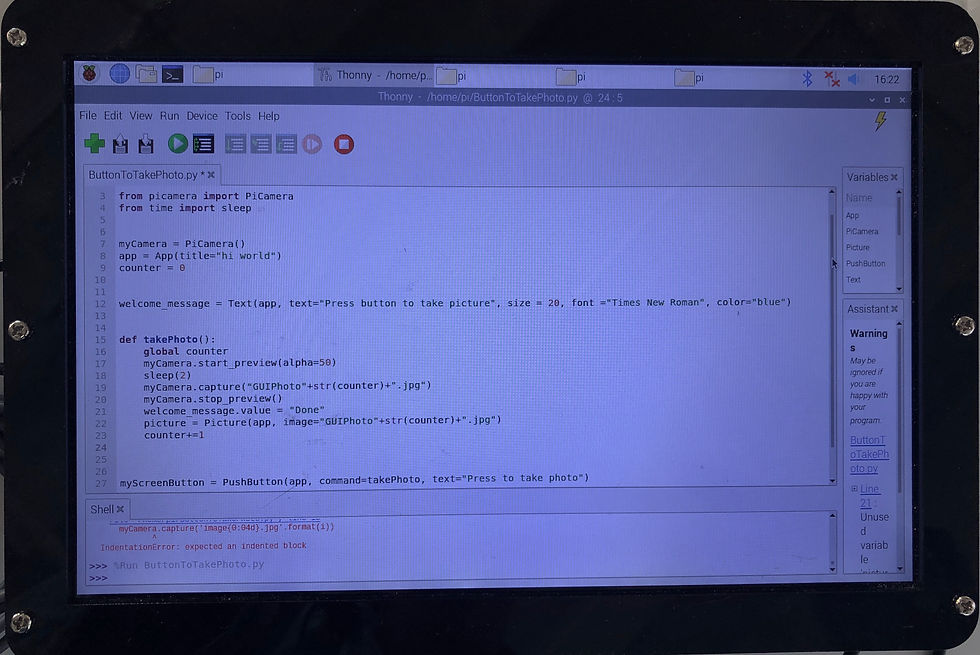
Below, we tried using a different approach - using a counter to ensure it is a new picture taken every time and see if it would refresh for the display function. The result was: the camera still takes a new photo every time and saved into the computer folder, but the display function still didn't refresh to display the new photo.
Here is the code we tried.

Meanwhile, we continue to try and look up documentation in GUIZERO library, and other potential library options and see if we can find a solution.


Comments