Skeletal Meshes and MoCap Data
- Son Luu

- Sep 25, 2019
- 2 min read
Updated: Nov 13, 2019
Class: Motion Capture
Instructor: Kat Sullivan - Todd Bryant

⌘ Assignment 3:
Create an Avatar using MakeHuman, Fuse, or your software of choice (Bonus points for Tiltbrush, Medium, Blocks, or Quill). Retarget your cleaned data to the character and import into UE4 and place them in the world you’ve been working on. Record some video using Quicktime, your phone, Open Broadcaster, etc…
The process
Step 1: Build a human with MakeHuman
Create a skeleton in MakeHuman

Step 3: Avatar Rigging in Mixamo
This step helps the ability to add animation to the skeleton later.

Step 3: Using Motion Builder to pair Skeleton with motion capture data (pre-recorded in Motive)
Lab 3 provided a cleaned file of pre-recorded motion capture data. Now, this step matches the skeleton and the motions recorded.

Circled in red in the image is the Looping and Animation Play function. When these are checked, once you click Play, animation will start regardless.
To change the designated Play time, Playing needs to be unchecked. Then, next step is to go into Blue Print and design specific time to start the animation.

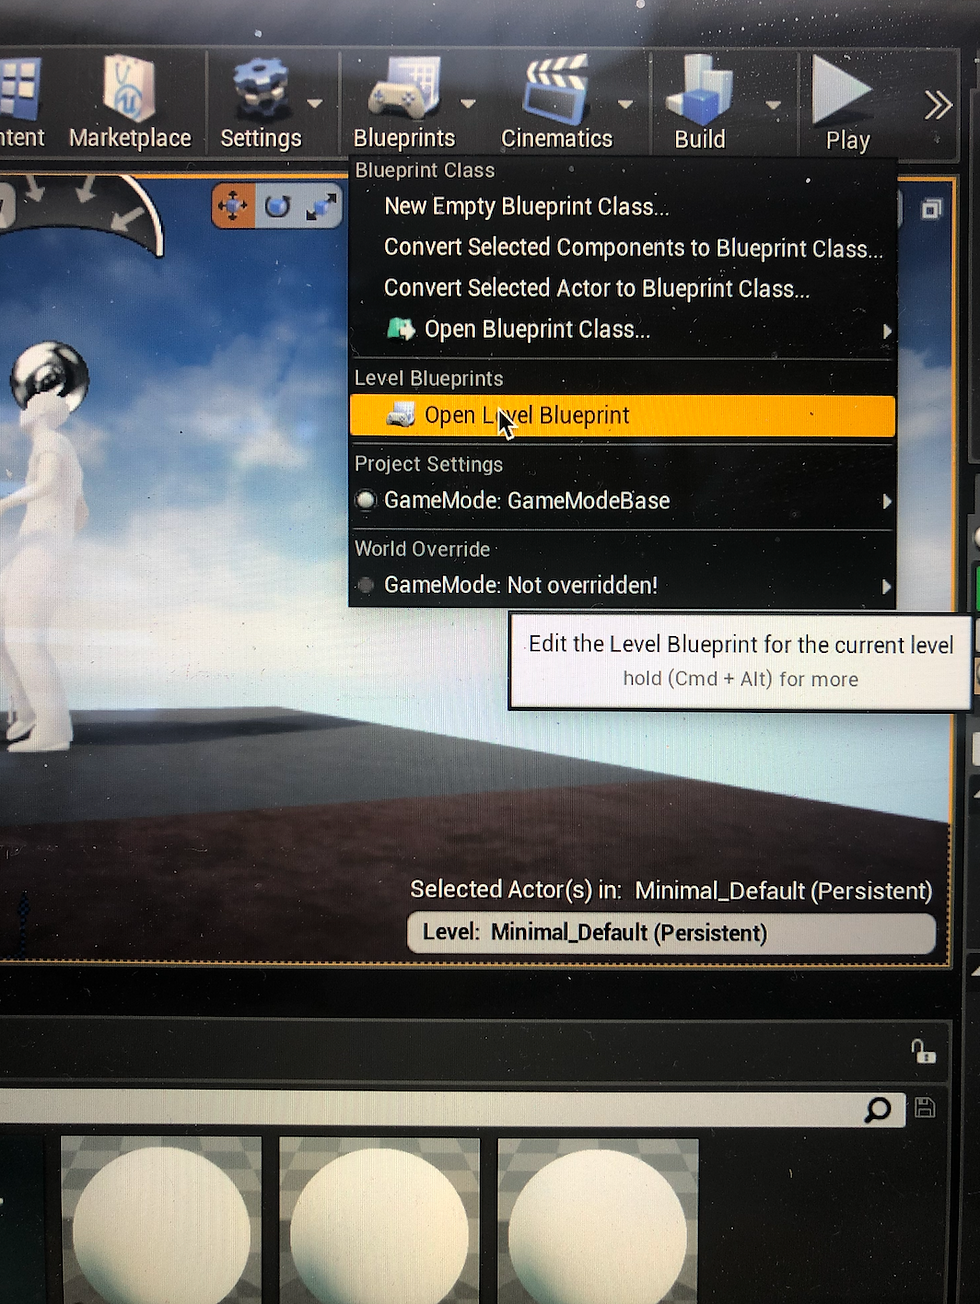
This is where to access Blue Print: "Open Level Blue Print" is used for designing specific details of all animations.
The reason why it is called "Level" is because Unreal is a game engine which is designed typically based on levels.
As animation is specifically coded, the Blue Print will need to be saved based on the level it is designed for.
Step 4: Importing meshes and motion capture data into Unreal to create interesting animation.
- Motion capture file and skeleton mesh files imported separately.
Blue Print is where everything happens:
- Assigned starting point for the animation (upon button press) using Blue Print function
- Created copies of the avatar
- Having randomly selected avatar start animation at different point of time
Final Animations
- Assigned Camera Actor to pilot at a specific angle: the animation below included a zoomed in view of an avatar.
- Created a change in animation Play Rate at a specific time


Comments